Tricorn Hat Pattern

To make the pirate hats pictured above, you will need:
1 29-inch size 13 circular needle
600 yards worsted-weight wool (feltable)
10 stitch markers, one unique
3 medium stainless steel safety pins (quilting pins are best)
tapestry needle
Nice but not necessary:
Size 13 double-pointed needles
Carrying-weight eyelash yarn
Dyed ostrich plume
Knitting:
This hat is knit with two strands of wool held together.
Getting started:
Using the cabled cast-on, cast on 150 stitches.
Put the unique stitch marker on one of your needles.
Joint work in the round, being damn sure not to twist. There are a lot of stitches, so it would be fatally easy.
If you are using eyelash, do not use it in the cast-on. Instead, when join the round, start carrying a doubled length of eyelash with the wools.
As you knit the first round (round 1), place a stitch marker every 15 stitches.
Brim, outer edge:
Round 2: Purl
Round 3: Knit
Round 4: Purl
Round 5: Knit 13, knit 2 together, repeat to end of round. Or in knitting-patternese: *k13, k2tog*. When you finish each repeat, you should be right at one of your stitch markers. You will now have a total of 140 stitches.
If you were carrying eyelash, stop now.
Round 6: Purl
Round 7: Knit
Round 8: Purl
Round 9: Knit
Round 10: Purl 12, purl 2 together, repeat to end of round. *p12, p2tog*. Purl two together is just like k2tog, only you're coming through purl-wise. You will now have a total of 130 stitches.
Brim, main part:
Rounds 11 - 14: knit.
Round 15: *k11, k2tog*. You will now have 120 stitches.
Rounds 16 - 19: knit.
Somewhere around here, you will need to join in your second balls of yarn.
Round 20: *k10, k2tog*. You will now have 110 stitches.
Rounds 21 - 24: knit.
Round 25: *k9, k2tog*. Now is a good time to stop and make sure that your stitch markers are still evenly spaced, 10 stitches apart. If they're not, just make a correction on the next round. The felting will hide any small flaws.
Rounds 26 - 29: knit.
Round 30: *k5, k2tog, knit to second marker*. You will now have 95 stitches. In this round, you are only reducing by five stitches, so you only care about every other stitch marker.
Rounds 31 - 34: knit.
Round 35: *k2tog, knit to second marker* You will now have 90 stitches.
Round 36: knit.
Hatband:
Round 37: Purl
Round 38: Knit
When you are done with the brim, you will be able to see the line of decreases where your markers were, like this:
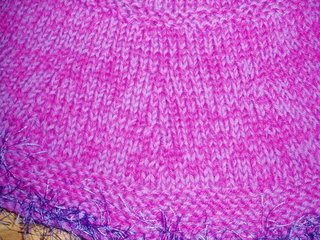
At this point, you may look at this and think to yourself, "It's huge! It could be a skirt! This can't be right!".
It's right. Keep going.
Crown:
Round 1: Knit 3, knit 2 together, knit 2, knit 2 together, repeat OR *k3, k2tog, k2, k2tog* Don't try this round when you're distracted. It's hard to keep count. You should end with 70 stitches.
Round 2: Purl.
Rounds 3-15: Knit.
Top decreases:
Take out half your stitch markers, so you have a marker at the beginning of your round and every 14 stitches thereafter.
If you have double-pointed needles, this might be a good time to switch to them.
Repeat this four-round pattern five times.
Round 1: *Knit to marker, k2tog*. This reduces your stitches by five.
Round 2: Knit.
Round 3: *Knit to marker, slip-slip-knit*. This technique means your decreases "slant" in opposite directions. Otherwise, the top of the hat would tend to spiral, which is pretty in some applications, but not what we're looking for.
Round 4: Knit.
Tippytop:
Now you will have 20 stitches.
Round 21: *k2tog*
Round 22: *k2tog*
If you don't have dpn's these rounds will be very difficult. Don't worry too much, it'll all come out in the wash.
When you have 5 stitches left, break the yarn, leaving a longish tail, and thread the needle. Catch the stitches on the extra yarn and pull it tight.
Finishing:
Sew in all your ends from joins and the beginning. This doesn't need to be perfect, as they will felt up. Make sure all ends are on the inside.
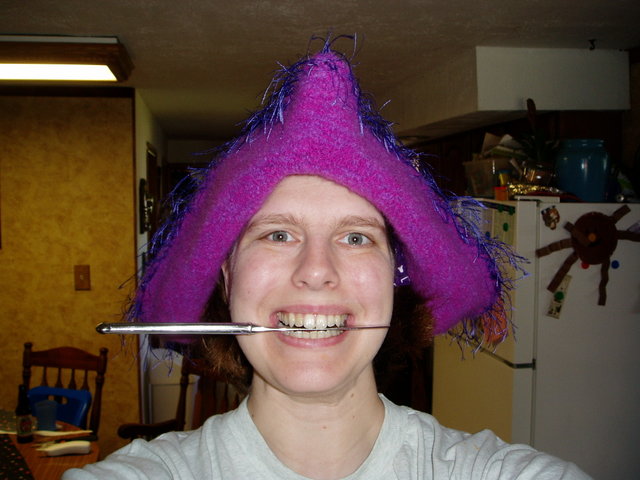
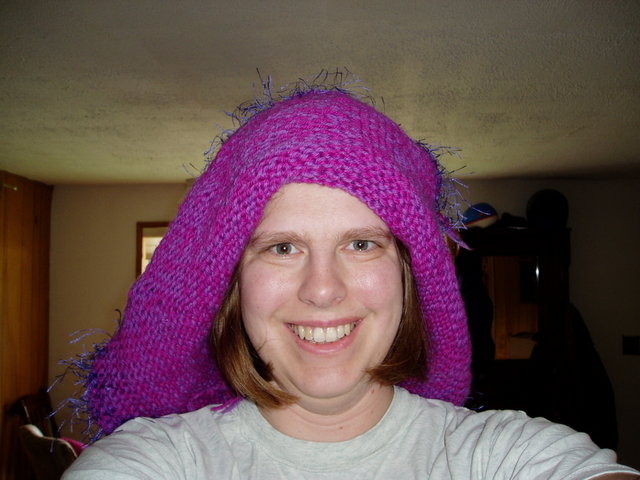
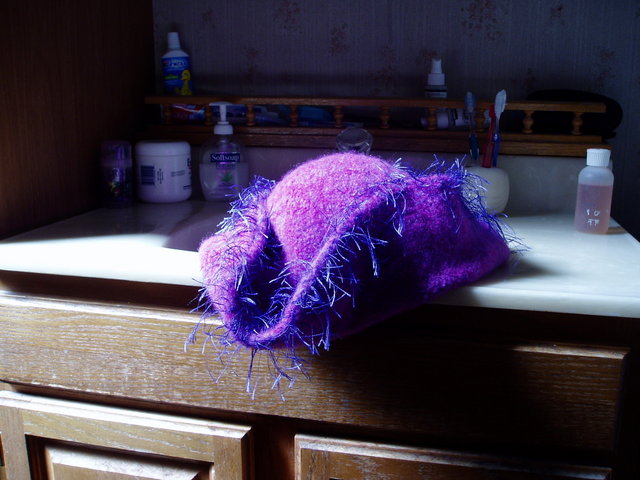
You will end up with a very large hat like this:

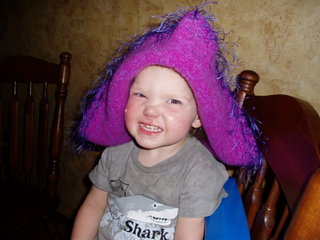
It will look very silly on you:
Felting/fulling:
Now'd be a good time to nip on over to our Felting/Fulling instructions page. That is unless you're already accomplised at this.
Shaping
Once your hat is felted you'll need to do some pretty serious shaping. Your brim will be naturally flat, but it will conform to your piratical desires.
- Set it on a bowl about the size of you head. Figure out how you want to shape the brim. With this same pattern, you could also make other hat styles, depending on brim-handling. But for the traditional tricorn take three imaginary points 120 degrees apart (noon 4 and 8 on a clock face) the way around the brim and pull them up to the sides.
- From the inside, use the safety pins to secure the brims. The curvature of the quilter's pins makes this especially handy. You can also just take a few tacking stitches with some complimentarily colored thread.
- Dry the hat by wearing it, or putting it on the bowl.
Beware other pirates trying to steal your booty:
9) If you have a plume, thread it through the safety pin so it stays put.
Ta-da! Pirate hat!
Soon, you will look like these guys:


Felted Tricorn Hat Pattern by Laura Thomas & Heidi Waterhouse is licensed under a Creative Commons Attribution 3.0 United States License.
